Special Techniques for Setting, Grouting and Sealing Slate
Slate tiles present special problems for installers. If a tile setter is not knowledgeable about the properties of slate the end result can be a disaster! First of all, when my customer selects slate tiles I want to be sure they have considered the following details:
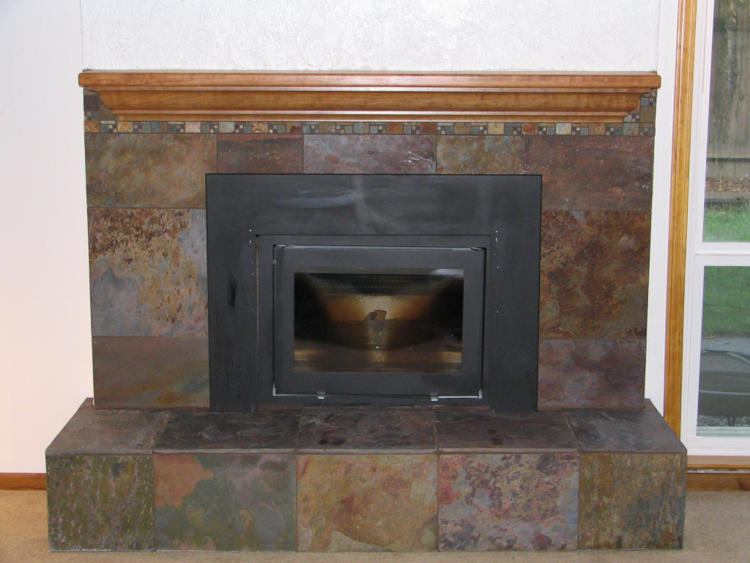
Selecting the slate: Some real slate tiles for floors can be very bumpy with lots of “ups and downs” This can be very difficult to walk on. Also, with bumpy slate, when trimming the floor with wood base board there will be gaps under the baseboard. However, a search can be made for a more uniform surface of slate. The term for this is gauged slate, however not all gauged slate are uniform, especially some from the “big box” stores.
Also, the actual sizes of slate tiles vary, so it is not recommended to use a narrow grout joint. Some of the slate work on my website contains very narrow joints. In order to achieve that look and satisfy the homeowners, there was plenty of extra time and expense involved in sorting all the tiles into many different piles of differently sized slate squares.
Setting the slate: some slates are very dusty. It helps the adhering bond if a damp sponge is used to clean off the back side of the slate tiles. I also do not use a cheap bottom-of–the-line thinset. I will use a modified thinset. If very large, thick tiles are being set, I will use a special thinset labeled “medium body” thinset.
Grouting the slate: Before grouting, I recommend applying at least one coat of a sealer to the top surface of the slate. Otherwise, the grout will harden rapidly on the surface of the slate sometimes being next to impossible to remove. Also, without a sealer on the slate, the rapidly hardening grout will require lots of water cleanup which also leads to grout discoloration.
Sealing the slate: I actually like the look of “enhanced’ slate. A solvent based enhancer sealer is applied which brings out the naturally occurring colors of the slate. Each successive coat brings out deeper colors in the slate. To see the beautiful surface this sealer will provide, wet a piece of slate. That wet enriched look is similar to what enhancer sealer will provide. Three coats seem to be best with the enhancers. So, usually one coat is applied before setting the tiles (so the thinset will not stick to the top surface of the slate) being careful not to drip the sealer over the sides of the slate tiles. Then, another coat is applied after setting but before grouting, and a final coat is applied three days after grouting. On floors, this final coat can be applied with a garden sprayer using a terry cloth towel to wipe off any pooling of the sealer.
In wet areas such as tub surrounds and showers it is very important to put on at least a couple of coats of a good quality sealer. Solvent sealers contain smaller molecules so they penetrate the stone very well.